
How to Dry Herbs at Home: 5 Easy Methods + Drying Times for Basil, Rosemary, Mint & More
Learn how to dry herbs at home, choose a method for your harvest, and store the leaves for cooking or mint tea.
Rinse fresh herbs, remove damaged leaves, and pat away surface water. Then hang loose bundles in a dry, airy room or spread leaves on drying trays. When the leaves crumble easily, let them cool completely if you used heat. Finally, pack them in clean, airtight containers away from heat and light.
An overflowing herb pot can supply more than tonight’s dinner. This guide explains how to dry herbs without wasting the harvest, with practical choices for basil, rosemary, mint, oregano, thyme and parsley. Start with a manageable batch so you can check it properly.
How to Dry Herbs: Compare the 5 Methods
| Method | Time | Best for |
|---|---|---|
| Air drying (hanging) | Often 2 to 4 weeks | Small bundles of rosemary, thyme or sage |
| Oven | About 3 to 4 hours; varies with heat | A monitored batch when low heat is available |
| Dehydrator | Often 1 to 4 hours | Controlled drying, including basil and mint |
| Microwave | Minutes; follow the appliance manual | Small approved batches, with constant supervision |
| Air fryer | Follow the model’s herb-drying chart | Models with instructions for dehydrating herbs |
When to Harvest Herbs for Drying
For most leafy herbs, harvest just before the flowers open. Choose a dry morning after the dew has gone, before the day becomes hot. This helps you gather leaves in good condition without leaving them wilting in the sun.
Use clean scissors and collect healthy growth. Leave yellow, diseased or badly damaged leaves behind, and remove insects before bringing the harvest inside. If pests are a problem, our guide on how to get rid of aphids on plants can help.
Take a modest harvest rather than stripping the plant bare. For advice on keeping productive pots, see growing herbs in containers. Also, collect tender basil before frost damages it; our guide to protecting plants from frost explains how to plan for cold weather. Bring cut herbs indoors promptly and prepare only as much as your drying space can hold.
How to Prepare Herbs Before Drying
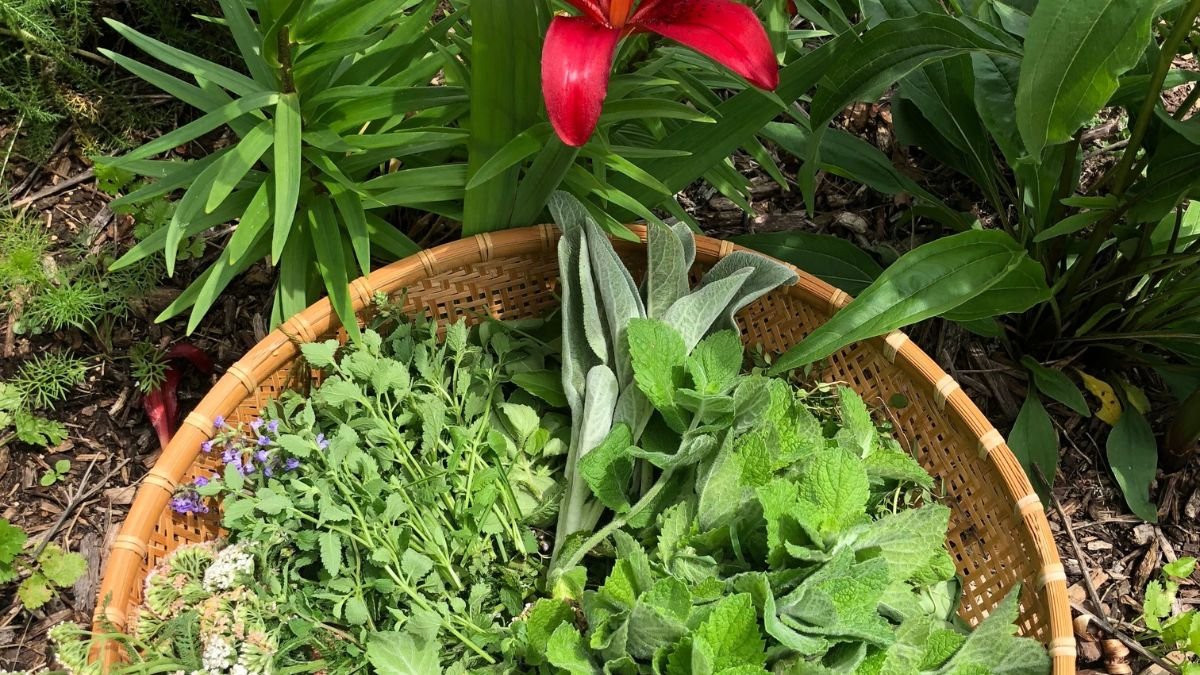
First, wash your hands and clean the trays and work surface. Gently rinse herbs under cool running water, even when they look clean. Do not use soap, bleach or household cleaners on the leaves.
Shake off water, then pat the herbs with a clean towel. Remove bruised leaves and any thick stalks you will not use. Keep stems attached for hanging; for appliance drying, separate larger leaves and spread them without overlap.
Keep different herbs on separate trays so you can remove each batch when ready. Also, avoid piling wet leaves in a bowl while preparing the rest. A loose layer gives moisture somewhere to escape.
Method 1: How to Dry Herbs Naturally by Hanging
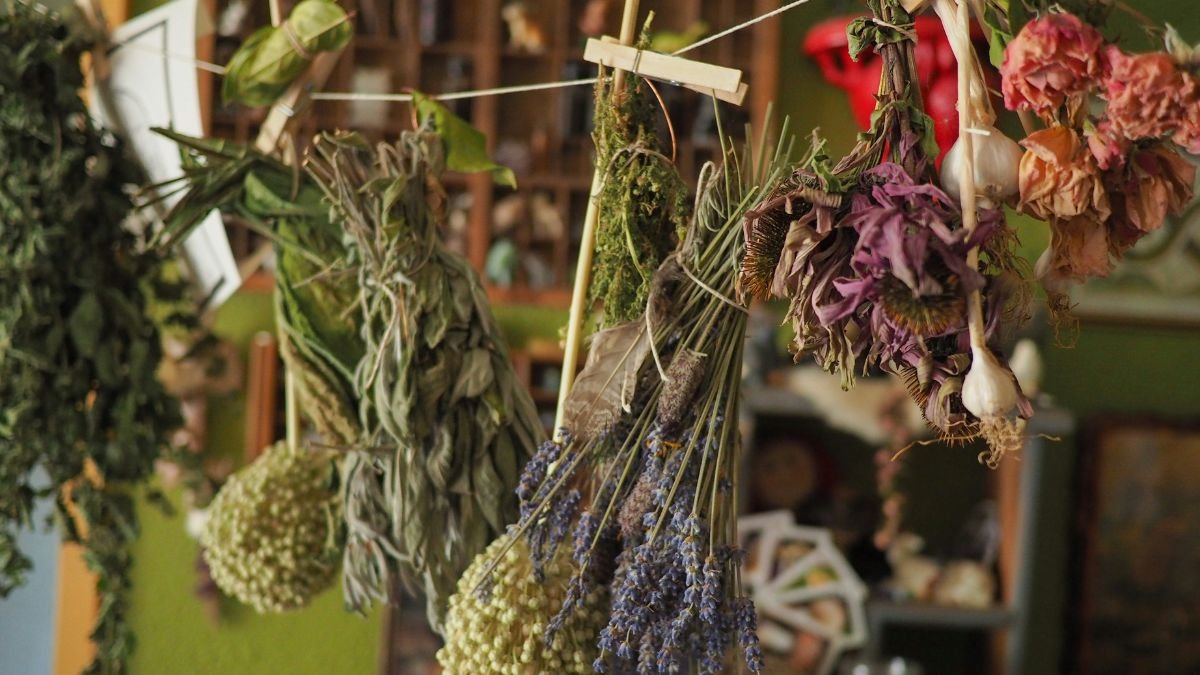
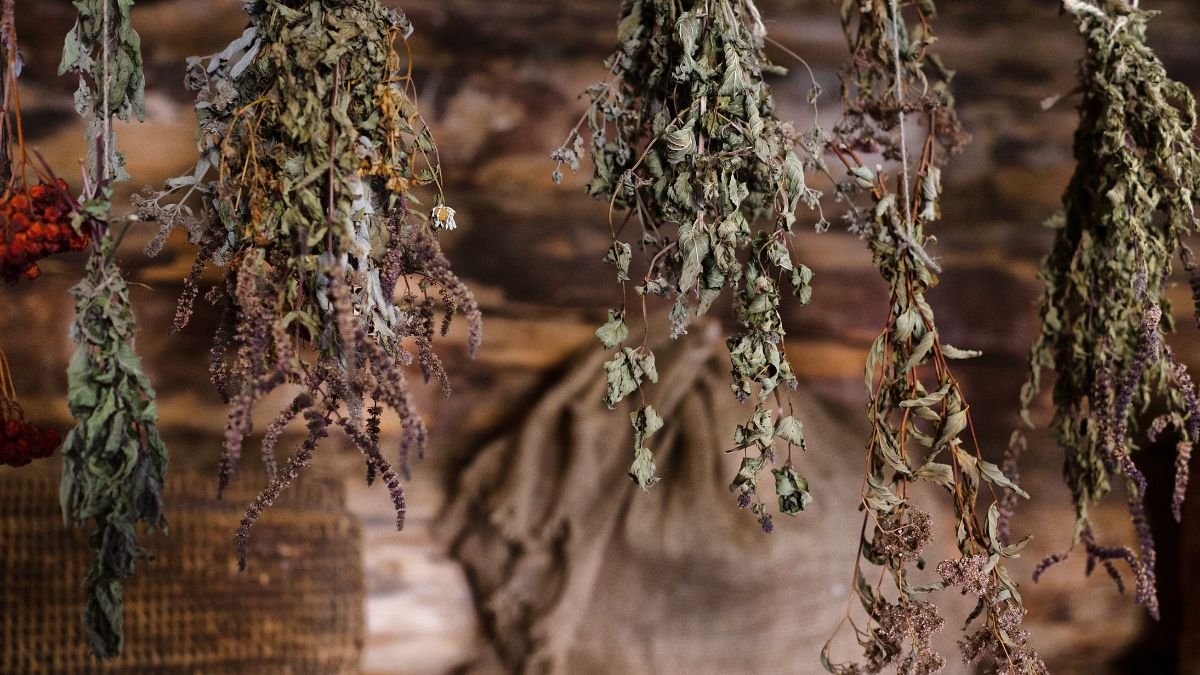
Hanging herbs to dry works well for rosemary, thyme and sage in a dry room. Tie a few stems into a loose bundle, leaving space around the leaves. Then hang it upside down, away from direct sunlight and kitchen steam.
Allow roughly 2 to 4 weeks, although temperature, leaf thickness and humidity change the timing. Check the middle of each bundle as well as the outside. If leaves stay damp or develop mold, the bundle is too crowded or the conditions are unsuitable.
A paper bag can catch falling leaves and keep off dust. Punch ventilation holes in its sides, suspend the small bundle inside, and leave room for air to circulate. Avoid plastic bags, which trap moisture.
For short stems, spread leaves on a clean, food-safe mesh rack instead. This is another way to dry herbs naturally without tying bundles. However, moisture-rich basil and mint need prompt drying; choose a dehydrator when the room feels humid.
Choose shade and airflow. Direct sun can reduce color and flavor. A shaded windowsill still needs dry air; a steamy kitchen corner is a poor drying spot.
Method 2: How to Dry Herbs in the Oven
An oven can handle a tray of herbs, but its lowest setting may still be hotter than ideal. If available, use a drying setting around 95°F to 115°F (35°C to 46°C). Check the actual temperature with an oven thermometer.
For conventional oven drying, Iowa State guidance allows no more than 180°F (82°C), with an estimated 3 to 4 hours. Treat this as a guide rather than a timer: thin leaves may finish sooner. Higher heat can reduce flavor and color.
Spread drained leaves on a clean baking sheet in a single layer. Check frequently, gently turn them if needed, and remove dry leaves as you go. Only leave the door ajar if your oven’s instructions permit drying that way; do not improvise a door prop.
Wondering how to dry basil in the oven? Use the gentlest suitable setting and keep leaves separate. If the oven cannot hold low heat, choose a dehydrator or ventilated rack instead. Once the leaves crumble, take them out and let them cool before storage.
Method 3: How to Dry Herbs in a Dehydrator
A dehydrator gives you control over heat and airflow. It is a useful choice for basil and mint, especially when indoor air is too damp for reliable hanging. Follow your model’s instructions for loading trays and keeping vents clear.
General herb guidance recommends 95°F to 115°F (35°C to 46°C). In humid conditions, up to 125°F (52°C) may be needed. Spread prepared leaves in a single layer, with room for air to move between them.
Drying often takes 1 to 4 hours, but the amount of herbs, moisture and appliance can extend that range. Check periodically and remove leaves that are already crisp. Keep drying the flexible ones rather than storing the whole tray together.
For tiny thyme leaves, use a food-safe tray insert approved for the machine. Avoid improvised covers that could block airflow. Let each finished batch cool before testing it again.
Method 4: How to Dry Herbs in the Microwave
A microwave can dry a small batch quickly, but herbs and paper towels can scorch or catch fire. First, check that your manual allows herb drying and follow its batch size, power and timing. If it gives no suitable guidance, choose another method.
Use a microwave-safe plate and plain white, microwave-safe paper towels. Avoid recycled towels, which can contain metal fragments. Pat away surface water, arrange the leaves in a single layer, and cover as the appliance instructions direct.
Stay beside the microwave throughout drying. Turn and inspect the herbs at the recommended intervals; extension guidance commonly checks every 30 seconds. Stop immediately if you notice scorching or sparking, and never continue heating already dry leaves.
Do not assume that a few stray leaves are safer than a proper batch. Very small loads can allow the towels to ignite. Parsley and thyme are options for approved microwave methods, but the correct settings still depend on the appliance.
Method 5: How to Dry Herbs in an Air Fryer
Use an air fryer only when its instructions include drying herbs. A dehydrate setting can be useful, but ordinary air-frying settings are not interchangeable with a herb-drying program. Check the model’s guidance before loading leaves.
Follow its directions for temperature, time, tray position and batch size. Use only trays and accessories approved for that model. If the manual explains how to secure lightweight leaves, follow those instructions rather than adding improvised weights or unsecured liners.
There is no single reliable air-fryer drying time for every model. Check the leaves as directed and test for crispness after cooling. If the manual has no herb instructions, hanging or a food dehydrator gives you a clearer starting point.
How to Dry Basil, Rosemary, Mint and Other Herbs
Use the method timings above as estimates, rather than fixed deadlines for each herb. Leaf size, humidity and tray loading can change the result. These tips help you choose a method and prepare the leaves.
How to Dry Basil Leaves
Handle basil gently and spread whole leaves without overlap. A dehydrator helps avoid the damp conditions of thick hanging bunches. To dry basil without it turning brown, avoid damaged leaves and excess heat, although some color change is possible. For future harvests, use our basil growing guide.
How to Dry Rosemary
For rosemary sprigs, leave the needles attached and hang loose bundles indoors. Once dry, strip the rosemary leaves over a clean tray. Alternatively, remove fresh leaves for a dehydrator. Check that the needles break rather than bend, and discard the tough woody stems before filling a jar.
How to Dry Mint
To dry mint leaves for tea, remove damaged growth and spread clean leaves on a rack or dehydrator tray. Avoid dense bunches because mint holds plenty of moisture. Keep the dried leaves whole until brewing, and label different mints separately if you want to compare their flavors.
How to Dry Oregano
Oregano keeps a useful flavor when dried, but its moisture still needs somewhere to go. Use small, loose bunches in dry conditions, or spread oregano leaves on a drying tray. A ventilated paper bag catches fallen leaves. In humid weather, choose controlled drying instead.
How to Dry Thyme
Keep thyme on its sprigs while hanging so the tiny leaves are easier to handle. Once crisp, strip them over a bowl or tray. For a dehydrator, use an approved fine-mesh insert. Check the center of the batch before deciding that all the leaves are ready.
How to Dry Parsley Leaves
Parsley can dry in loose bunches or on trays. Remove thick stalks when drying separate leaves, and spread curled leaves loosely so they do not form damp clumps. Test more than the outer edges before storage. Freeze a separate batch if you prefer a fresher parsley flavor.
Best Herbs to Dry, and When to Freeze Instead
Rosemary, thyme, sage, oregano and marjoram are useful herbs for the dried seasoning shelf. However, flavor retention and drying speed are different things. Oregano still needs loose spacing and good airflow.
Basil, mint and parsley can also be dried successfully. For a flavor closer to fresh basil, freezing is often a better choice. Likewise, consider freezing cilantro and chives if their fresh flavor matters most in your recipes.
How to Tell When Herbs Are Fully Dry
Let a heated sample cool, then rub a leaf between clean fingers. It should crumble readily rather than fold or feel leathery. Thin stems should break when bent, although you should remove thick woody stalks before storing the leaves.
Test several pieces, including larger leaves and those from the middle of the tray or bundle. One crisp leaf does not tell you whether the whole batch is dry. If some remain flexible, separate them and continue drying.
Do not pack partly dried herbs away to finish later. Moisture trapped in a container can encourage mold, even when the outer leaves seem dry.
How to Store Dried Herbs Without Trapping Moisture
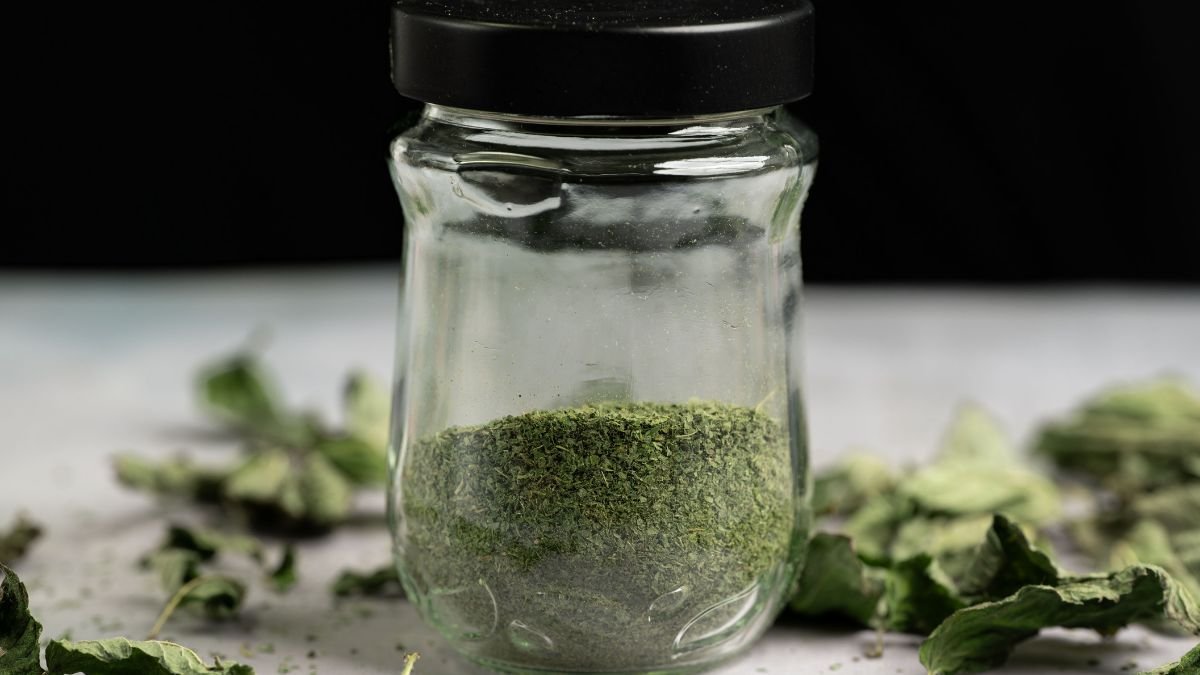
Cool herbs completely before packing them. Then use clean, dry jars or other food-safe containers with airtight lids. Store them in a cool, dark cupboard, away from steam, sunlight and the heat of the cooker.
Keep leaves whole where practical and crush them when cooking. Also, label each container with the herb and drying date. Smaller containers let you open only what you need while the rest stays sealed.
Check stored herbs regularly for moisture. If you find condensation or damp leaves without signs of spoilage, redry them promptly, cool them, and repack in a clean, dry container. If there is mold, an unusual smell or any doubt about spoilage, discard the batch.
Discard moldy herbs. Fuzzy growth or a musty smell is a reason to throw away the contents. Do not pick out affected leaves or try to rescue the batch by heating it.
How Long Do Dried Herbs Last?
For best flavor, aim to use home-dried herbs within 6 to 12 months. This is a quality guide, not a guarantee of safety until a particular date. Storage conditions and the dryness of the original batch still matter.
To check aroma, crush a small pinch and smell it. Replace herbs that have become faint or dusty-tasting, even if the jar is fairly new. Conversely, a strong smell does not make damp or moldy herbs suitable to use.
Dried vs Fresh Herbs: How Much Should You Use?
Start with 1 teaspoon of dried herb for 1 tablespoon of chopped fresh herb. This is a rough substitution, so adjust to the herb, recipe and strength of your batch. Finely powdered herbs need a smaller amount.
For soups, sauces and stews, add dried woody herbs earlier so they have time to soften and flavor the dish. Then taste before adding more. This makes better use of a small harvest than adding a large handful at once.
Common Mistakes to Avoid When Drying Herbs
Drying in direct sunlight
Choose a shaded spot instead. Sunlight can reduce both color and flavor.
Using excessive heat
Check the actual temperature. The lowest oven setting may still be too hot.
Tying thick bundles
Make smaller bunches so air can reach the middle. Otherwise, damp leaves may mold.
Storing warm or damp leaves
Cool heated herbs first, then check several leaves for a brittle texture.
Crushing everything at once
Store leaves whole when possible. Crush a small portion just before using it.
Opening jars over steam
Measure herbs away from a steaming pan. Then close the lid before cooking.
Frequently Asked Questions
What is the best method to dry herbs?
Match the method to the leaves and your room conditions. Hanging suits small bundles of rosemary and thyme in dry air. A dehydrator offers more control for moisture-rich herbs such as basil and mint.
What is the fastest way to dry herbs?
An approved microwave method can finish a small batch in minutes. However, it needs constant attention because dry leaves can scorch. For a larger harvest, use a dehydrator with suitable tray space.
Can you dry herbs without a dehydrator?
Yes. Hang loose bundles of sturdy herbs, or spread individual leaves on a food-safe rack. Choose a dry room with good airflow; humid conditions make natural drying less reliable.
Do herbs need washing before drying?
Rinse fresh herbs gently under cool running water, then remove surface moisture with a clean towel. Avoid soap and household cleaners. Even apparently clean garden leaves can carry contamination.
Why did my dried basil turn brown or black?
Excess heat can darken basil, and air-dried leaves may also brown. Use undamaged leaves, prompt preparation and gentle drying. Discard any batch with mold, a musty smell or other spoilage signs.
Can you dry herbs in a paper bag?
Yes, if it has ventilation holes and contains only a small, loose bundle. Hang the bag where air circulates. Check inside regularly, because a bag cannot compensate for damp conditions.
How do you dry herbs for tea?
For mint tea, dry clean leaves in a single layer until crisp, then cool and store them whole. Start with about 1 teaspoon of dried mint per cup of boiling water. Steep to taste, then strain.
Should you dry herbs with the stems on?
Keep stems attached for hanging rosemary or thyme. For trays, remove thick stalks and spread the leaves loosely. Once dry, strip edible leaves from woody stems before storage.
Why are my hanging herbs going moldy?
Crowded bundles, damp rooms and leftover wash water can slow drying. Discard moldy herbs, then start a fresh batch with smaller bundles or a dehydrator. Do not blend spoiled leaves into sound ones.
Which herbs are better frozen than dried?
Consider freezing basil, cilantro and chives when you want a flavor closer to fresh. They can be dried, but drying changes their character. Choose the preservation method that suits how you plan to cook with them.
Ready to Dry Your Herb Harvest?
Learning how to dry herbs starts with clean leaves, space for airflow and a careful dryness check. Choose a method that suits your herbs and equipment, then cool and store the finished leaves properly. Start with a small batch of rosemary or thyme, and label what you save. For next season’s pots, our guide to starting seeds indoors can help you plan another harvest.