
How to Winterize Garden Beds, Pots & Tools: A Simple Fall Checklist
Fall is synonymous with winding down, but for gardens, it’s the beginning of the next growing season. What you do in the coming weeks will determine the health of your plants and soil. But the good news is, you don’t need to spend endless weekends preparing for winter. To help you learn how to winterize your garden beds, pots, and tools, we’ll walk you through each step of the process so you can accomplish it all over the course of a few afternoons.
Read on to discover what to do and what to avoid when winterizing a garden.
To winterize your garden, remove dead and diseased plants, weeds, and cut back perennials that require it. Add compost, and cover the beds with mulch. You should also protect any pots, hoses, and tools from the cold. You must also avoid leaving bare spots in the soil since it will erode and wash away during the winter.
When to Winterize Your Garden
The best time to winterize your garden is when nights start getting cold, and your tender plants stop growing. For most gardeners, that means around or just after the first frost. In milder climates, winterization can begin in November or even December. While in colder areas, it may be as early as late September.
You don’t have to winterize everything on the same day. Here is a simple guide to help you:
Bring in any tender plants from outside. Harvest what you need, and disconnect your garden hose.
Remove dead annuals and veggies, and any perennials that need to be cut back. Apply a layer of compost to the beds.
Add mulch, and plant a cover crop if there is still time.
If you are unsure when the first frost is likely to occur in your area, search on the internet for your region’s average first-frost date. You can also ask the local extension service about it. They are usually happy to provide that information. You can also enter your ZIP code on the USDA Plant Hardiness Zone Map to find your growing zone. For more information on how to protect plants from frost, see our detailed guide.
Step 1: Clear Out Dead Plants
The easiest way to winterize your beds is to start by removing dead plants. So, take out the spent veggies, annuals, and any other plants that have finished flowering. Leaving plant matter in your beds provides a breeding ground for pests and diseases and can lead to problems in the spring.
Healthy plant debris can be tossed into your compost pile. Diseased matter should go in the trash, instead, as most compost piles don’t get hot enough to kill pathogens. If you’re not sure whether to toss something in the compost or the trash, refer to our comprehensive list of things to compost. The safest option is to throw it in the trash if you suspect it to be diseased.
Pull Weeds Before They Set Seed
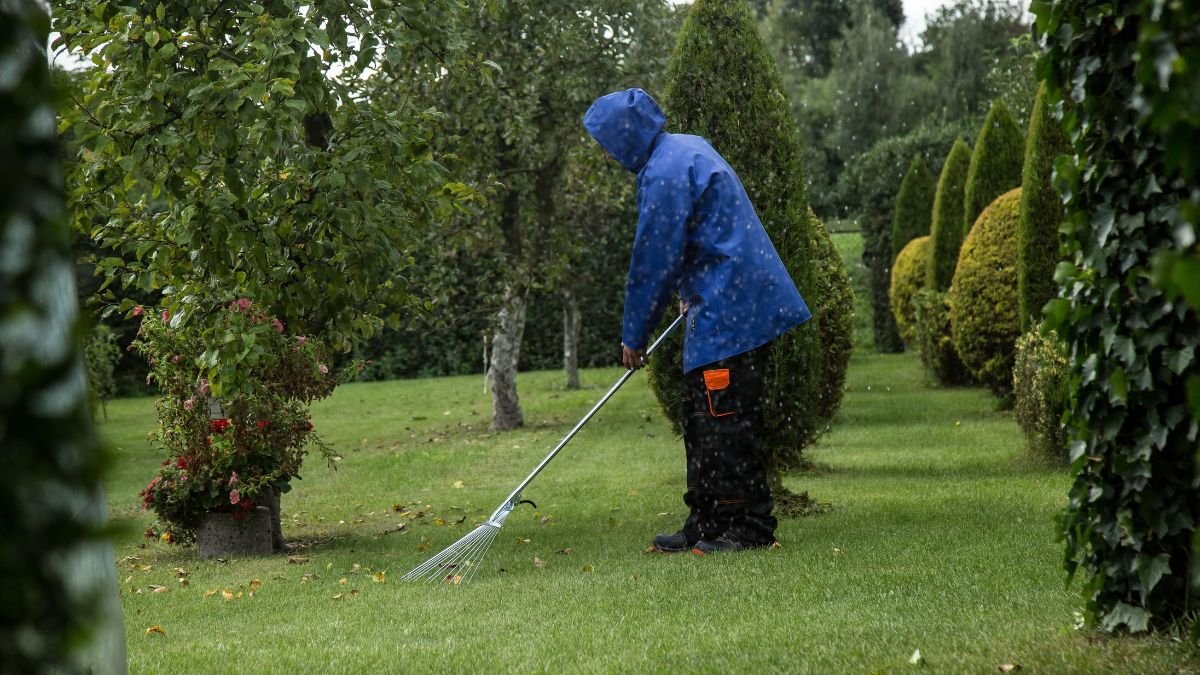
While you’re cleaning, make sure to remove any weeds. Weeds that set seed in the fall can lead to a ton of trouble in the spring. A single mature weed can produce thousands of seeds, so removing them before they have a chance to set seed is a good idea. In addition, weeds are easy to pull out in fall because the ground is softer.
Step 2: Cut Back Perennials the Right Way
How to winterize perennials depends on the plant. Some should be cut back to the ground, while others should be left alone. Here’s a short list of things to do and things not to do:
Plants that die back to the ground in winter like hostas and daylilies, plants prone to powdery mildew and other diseases, and those that have had infestations of pests.
Coneflowers, black-eyed Susans, and other plants with seed heads provide food for birds and add visual interest to the winter garden. Most ornamental grasses should also be left alone, along with hollow-stemmed plants like Joe Pye weed, whose stems shelter some beneficial insects. Woody plants such as lavender and Russian sage are best pruned in spring, because fall pruning can trigger tender new growth that freezes.
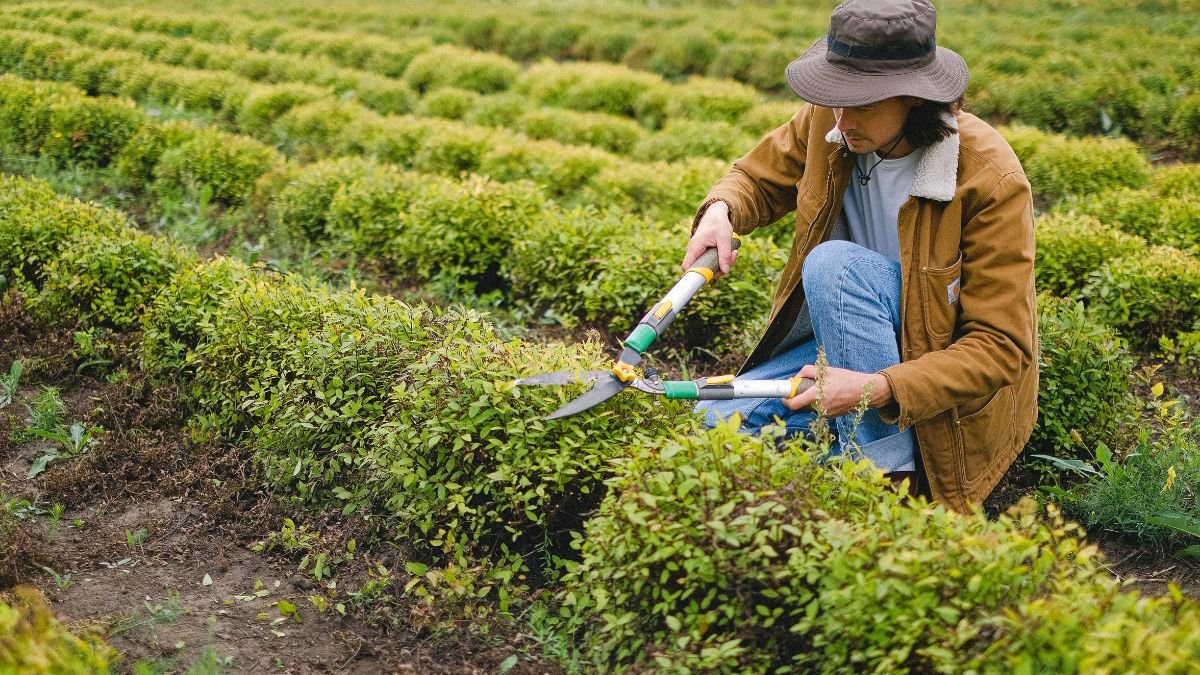
- Cut perennial stems back to 2 to 3 inches above the ground using clean, sharp pruners. This ensures that the wounds heal quickly and that diseases don’t have a chance to infect the plant.
- If you have to prune a plant that has had disease, sterilize the blades of your pruners in rubbing alcohol to prevent spreading it to other plants.
What About Garden Mums?
Many people ask us how to winterize garden mums or chrysanthemums. The answer is simple — how to winterize in this case is not to do anything. Leave the old stems in place over the winter, and cut them back to the ground in the spring.
Step 3: Feed Your Soil With Compost
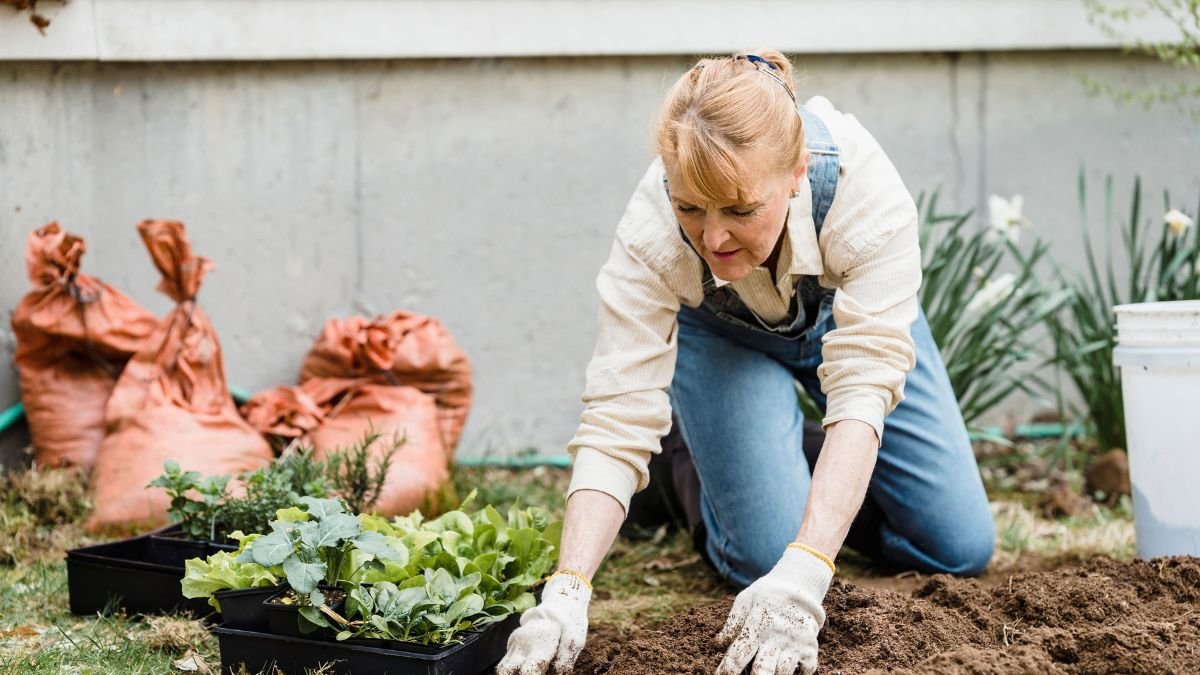
Another essential part of how to winterize a garden is to add a layer of compost. In fact, fall is an excellent time to improve soil quality. Add a layer of 1 to 2 inches of compost on your beds. There’s no need to till it into the soil. As the winter rains fall, the compost will slowly add nutrients to your soil, ensuring that your plants have everything they need to thrive next year.
Now is also an excellent time to test your soil. A basic test will tell you the soil pH and the amount of nutrients present. If you find that you need to add lime or other minerals, fall is an ideal time to do it. The soil will have ample time to break down the substances before planting season begins.
Skip the heavy digging. Turning the soil disrupts the delicate root systems and the microorganisms that help aerate it, and it can leave it vulnerable to erosion over the winter.
Step 4: Cover the Soil With Mulch
Left alone, bare patches of soil will be problematic. Not only will they erode, but they will also become infested with weeds. One of the easiest ways to stop both is to cover the soil with mulch. A layer of 2 to 4 inches of mulch suppresses weed growth and prevents erosion.
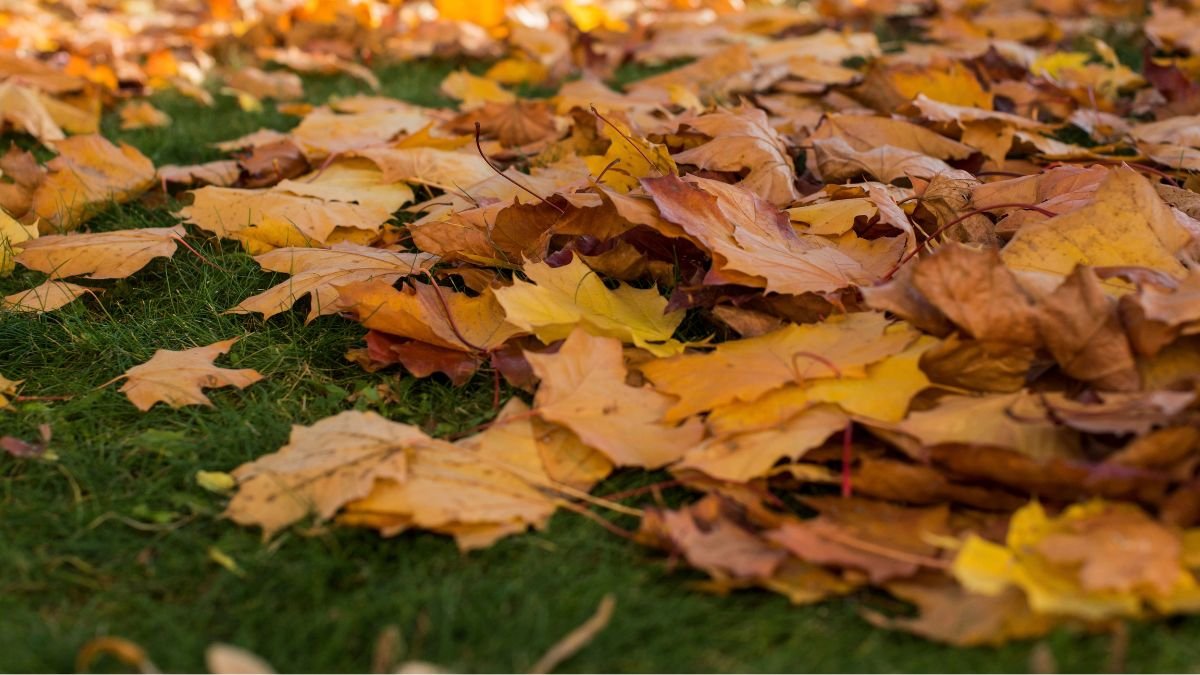
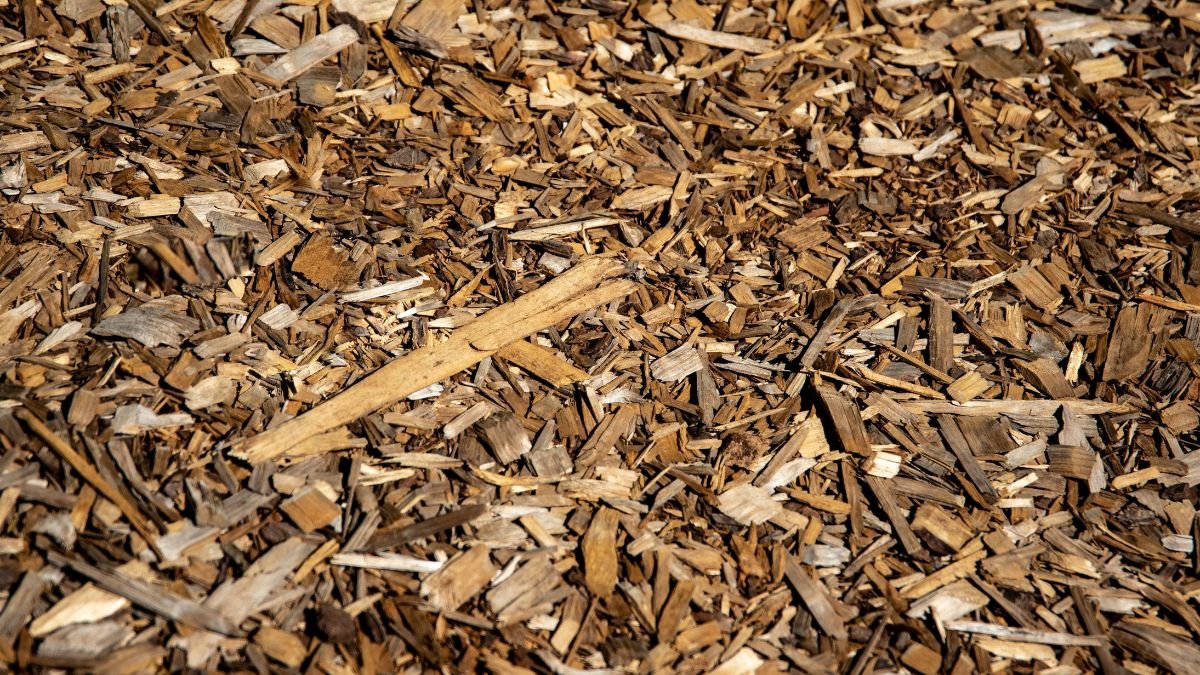
Shredded leaves are an excellent mulch option, and you’re likely to have plenty of them in fall. Simply run over a leaf pile with a lawnmower to create mulch, then rake it into your beds. Other mulch options include straw and wood chips.
Here are some quick tips to help you get the most out of your mulch:
- Don’t add mulch until the ground has started to cool down. Adding it too early will prevent the soil from cooling down, which can lead to a mouse infestation.
- Avoid piling mulch against stems and tree trunks. It can damage the bark and create a warm, moist environment conducive to pests.
- Don’t use whole leaves as a mulch. They tend to clump, preventing water and air from reaching the soil.
Step 5: Plant a Cover Crop (Optional)
If you have an empty patch in your vegetable garden, consider planting a cover crop. A cover crop for the winter is a crop of cover plants grown to protect and improve the soil. These plants prevent erosion, suppress weeds, and add nutrients to the soil. Some common cover crops for winter planting include:
It’s hardy enough to survive the winter.
Great for adding nitrogen to the soil, and it has beautiful blossoms in the spring.
Another nitrogen-rich cover crop that is best planted in conjunction with rye.
They germinate in fall, providing ground cover and are easy to clear in the spring if there aren’t enough hard freezes.
Simply sow the cover crop of your choice roughly four to six weeks before the average first frost date. If you’re later than that, skip it and mulch the bare patch instead.
How to Winterize a Vegetable Garden
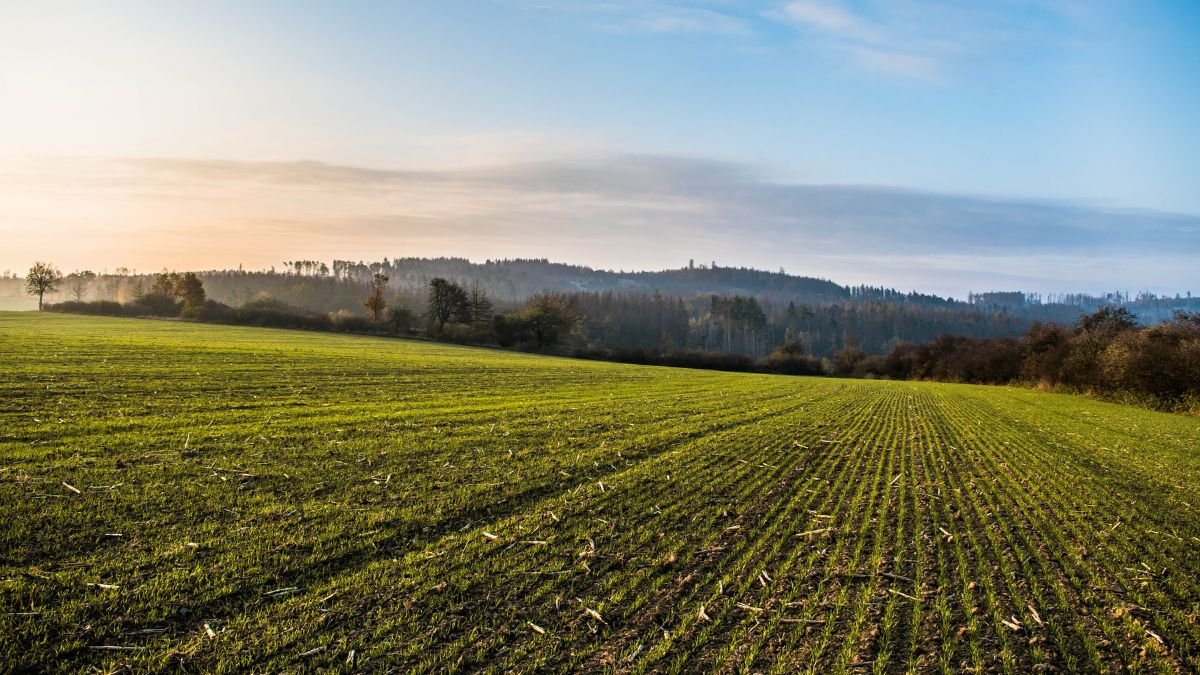
How to winterize a vegetable garden is similar to a general garden, but there are a few extra steps. Here is a list of the most important things to do.
- Vegetables should be harvested before the first hard frost. However, if you have a lot of green tomatoes, you can bring them indoors to ripen.
- Cold-hardy crops like kale, carrots, leeks, and spinach can be left in the ground through the winter. In addition, you can cover them with a row cover during particularly cold nights.
- Garlic is a hardy crop that should be planted in fall to ensure a good harvest. See our guide on when to plant garlic for more information.
- Keep a record of where you planted your veggies so that you can rotate them next year. Crop rotation is essential for preventing pests and diseases. If you need help, check out our complete vegetable garden layout and spacing guide.
How to Winterize Raised Garden Beds
Raised beds require a bit more TLC since the soil heats up and cools down faster than the ground. To winterize a raised bed, you should remove dead plants and add a layer of compost on top. Then, cover it with 3 to 4 inches of mulch or straw. If you don’t plan on planting the bed in winter, cover it with a cover crop or a tarp to prevent erosion. In the spring, you should remove the tarp, and you’ll be ready to plant.
Make sure to inspect the boards of the bed to ensure that they are not rotting. It’s also a good idea to reinforce any loose boards before winter sets in.
How to Winterize Potted Plants
Potted plants are more delicate in the winter since their roots are exposed to the cold. Here is how to winterize potted plants:
- Bring tender plants indoors before the first frost. Make sure to inspect them for pests. If you find any, check out our guide on how to get rid of aphids on plants.
- You can stack hardy potted plants against the side of your house to protect them from the wind. Doing so will also help warm them up slightly.
- If you have a severe winter, you can move hardy potted plants to an unheated garage. Just make sure to water them occasionally, so their roots don’t dry out.
- Potted plants should be wrapped in burlap or bubble wrap to insulate their roots.
- Elevate pots above the ground using bricks or pot feet. It ensures that water can drain freely and doesn’t freeze around the base of the pot.
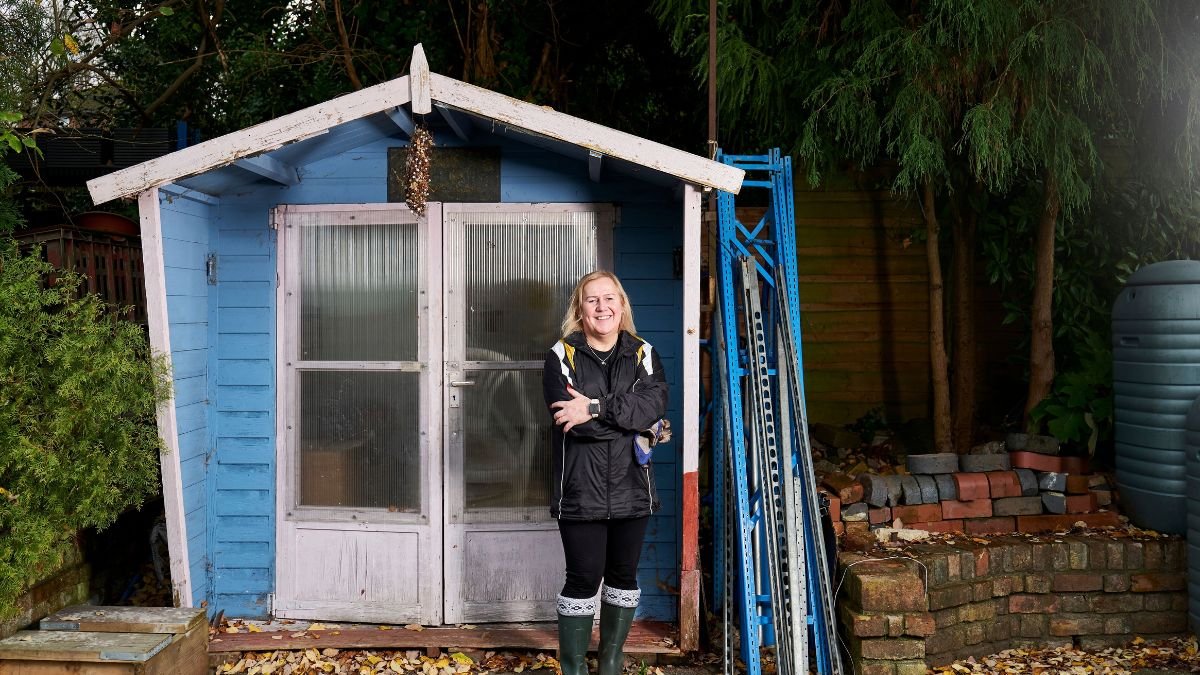
You should empty any potted plants you plan on storing over the winter. That way, the pot won’t crack due to the expansion of the soil when it freezes. Store the clay or terracotta pots in a shed or a garage upside down. If you have any herbs, see our guide on how to grow herbs in pots.

How to Winterize Garden Hoses and Sprinklers
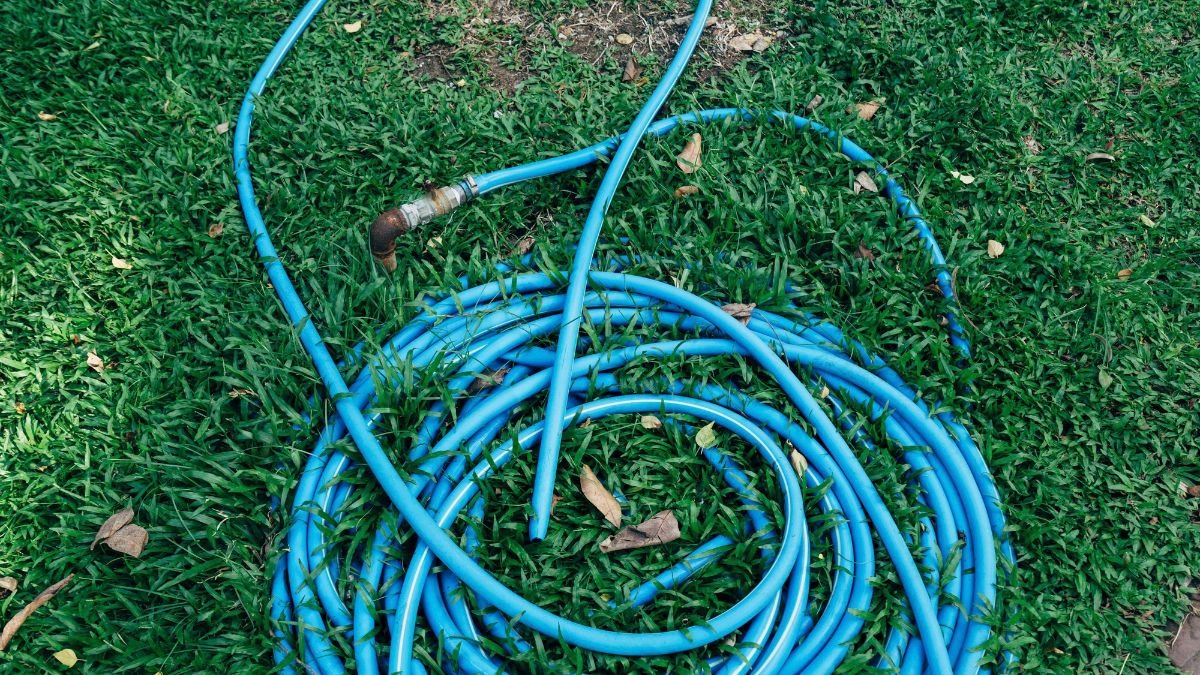
Water freezes and expands when it turns to ice. This expansion can cause your hose to crack or the pipe behind your outdoor faucet to burst. How to winterize a hose is simple, but it is an easy task that many people forget. The good news is, most of the work takes a matter of seconds.
How to Winterize a Garden Hose
- Disconnect every hose from the outdoor faucet before the first night of hard frost. A hose that’s left on overnight will freeze, damaging the hose and the pipe. If a freeze is coming, do this as soon as possible.
- Make sure to empty every hose. To do that, lift one end and walk along the hose until all the water drains out.
- Coil the hose neatly and store it in the garage.
How to Winterize a Sprinkler
- Turn off the outdoor faucet’s water supply, if possible. If not, open the faucet to let any remaining water drip out.
- Make sure to drain the sprinkler system.
- If you have an in-ground sprinkler and you live in a cold climate, it’s best to call a professional to winterize it. It requires blowing the air through the lines, and it can damage the system if you don’t know what you’re doing.
- Even frost-free faucets need to have the hose disconnected, so don’t forget that.
How to Winterize Garden Tools
Proper care of your tools ensures that they last for decades. Dirty, wet tools are more likely to rust and spread diseases to your plants. Here is how to winterize garden tools:
- Clean the tools, remove any dirt, and dry them thoroughly.
- Sharpen the pruners, hoes, spades, and other tools you intend to use in the spring. It will save you time and effort later in the season.
- Oil the metal parts of the tools to prevent rust. Apply some oil with a rag, and you’re done. You can use cooking or machine oil, but avoid using something highly flammable.
- Oil the wooden parts with linseed oil, if they look dry or old.
- Finally, hang up the tools or store them somewhere dry. A damp shed or garage will undo all your hard work.
Lawnmowers also need to be maintained and stored over the winter. It’s an excellent time to do a tune-up. If you have bare spots in your lawn, fall is the best time to overseed it. See our guide on how to overseed a lawn.
Your Fall Garden Cleanup Checklist
Here is a simple fall cleanup and winterization checklist that you can follow.
- Harvest the last of your crops.
- Remove any dead or diseased plants, making sure to throw the unhealthy ones in the trash.
- Take out any weeds before they have a chance to set seed.
- Cut back any perennials that need to be pruned.
- Add 1 – 2 inches of compost to your beds.
- Apply a layer of 2 – 4 inches of mulch.
- Sow a cover crop in any bare spots, if there is still time.
- Plant garlic and your favorite bulbs. See our guide on how to plant tulip bulbs for more information.
- Bring in or protect any pots you have outside.
- Winterize your garden hose.
- Clean, oil, and sharpen your tools.
Common Mistakes to Avoid
Even the most seasoned gardeners sometimes make mistakes in the fall. Here are some of the most common ones to avoid.
Cutting everything down to the ground – Leaving some plants to provide shelter for birds and beneficial insects is a good idea.
Composting diseased plants – Diseased plants should be thrown in the trash.
Leaving bare spots in the soil – Cover them with compost, mulch, or a cover crop.
Applying too much mulch or using it too early – Follow the guidelines mentioned in this article.
Forgetting to winterize your hose – A hose left on overnight will be damaged by the cold.
Frequently Asked Questions
Do I need to winterize my garden if I live in a warm area?
You do, but most tasks can be limited. You should still clear out dead plants, add compost, and apply mulch. There is no need to worry about draining your hose or insulating pots from freezing.
Should I water my garden before winter?
If you have had a particularly dry fall, you should water your trees, shrubs, and perennials before the first frost. It ensures they have enough moisture to keep them healthy over the winter.
Can I leave leaves on my garden beds?
It depends. Small amounts of leaves are great, but thick layers will smother your plants. You should shred them before using them as a mulch. Alternatively, use them sparingly as leaves are an excellent source of nutrients.
Is it too late to winterize my garden after the first frost?
It’s not too late, most of the things on your to-do list can wait until after the first hard frost. Just make sure that the ground isn’t already frozen before attempting to do any of the following tasks.
Final Thoughts
How to winterize a garden, pots, and tools is not as difficult as it seems. In fact, it doesn’t take a lot of time or effort to do it all. A well-prepared, clean, and insulated bed will provide you with a bountiful harvest in the spring. Just make sure to winterize one task at a time, and always start with the most crucial jobs. Whatever you do, don’t skip this step as it will make your growing season infinitely easier.